Showing posts with label tutorials. Show all posts

Friday, 18 July 2014

Painting with household items:)

Hey Arty Souls!

Today I want to show you how to think outside of the box and to use your household items to make art.
 If you look around your house, you will find many items which work great as a texture tools and moulding/building material. For this project I used: tin foil, old credit card, a pencil, masking type, old magazines and some art supplies: acrylic paint, stamps, washi tape.

This project I made for The Mixed Media Monthly Challenge- Around The House

Check the Mixed Media Monthly Challenge blog here


Hearts made of tin foil. To be able to paint them I covered them with masking tape.


Monday, 5 May 2014

Draw It, Paint It, Collage it- tutorial


Hello again my arty souls:)

I am recently obsessed with collages. They are so simple and cheerful, that I just can't stop making them:))) So today I wanted to show you how do I make them and maybe I will encourage you also find this inner child inside you and play :)


I am very inspired by spring and little birds, which made a little nest under my roof:) I am so enjoying their singing:) That is why this art journal page has been created:)


I started by randomly applying some leftover of acrylic paint. I didn't think much about the colors...


 I gathered some scarps of papers and collage pieces from my painted pages. Sometimes when I watch TV I just draw random shapes (hearts, stars, flowers) than I cut them and use them in my paintings and collages.


I added collage pieces to the background


Just play with composition and remember to use contrasting colours


When I was happy with the collage pieces, I added more acrylic paint.


As for the bird, Firstly I put coat of gesso on thin piece of paper. The reason for that is that it allowed me to shade my bird with Faber Castell Gelatos and Pitt Pens. I drew my bird with watercolour pencil than I coloured it with Pitt Pens and Gelatos. I added a little bit of water for shading.


I cut the bird out and place it on my page


I added some writing and READY!!!:)


Other examples of recent collages in my art journal:


I hope you feel inspired to try playing with this technique :)))

Love,

Sylwia


Friday, 2 May 2014

Sea is calling me- projects for DT Cardz'n'Scrapz


Hey Arty Souls

I wanted to share with you two additional project I created for Cardz'n'Scrapz. All in the sea theme:)


Tutorial for this wall ornament you can find here


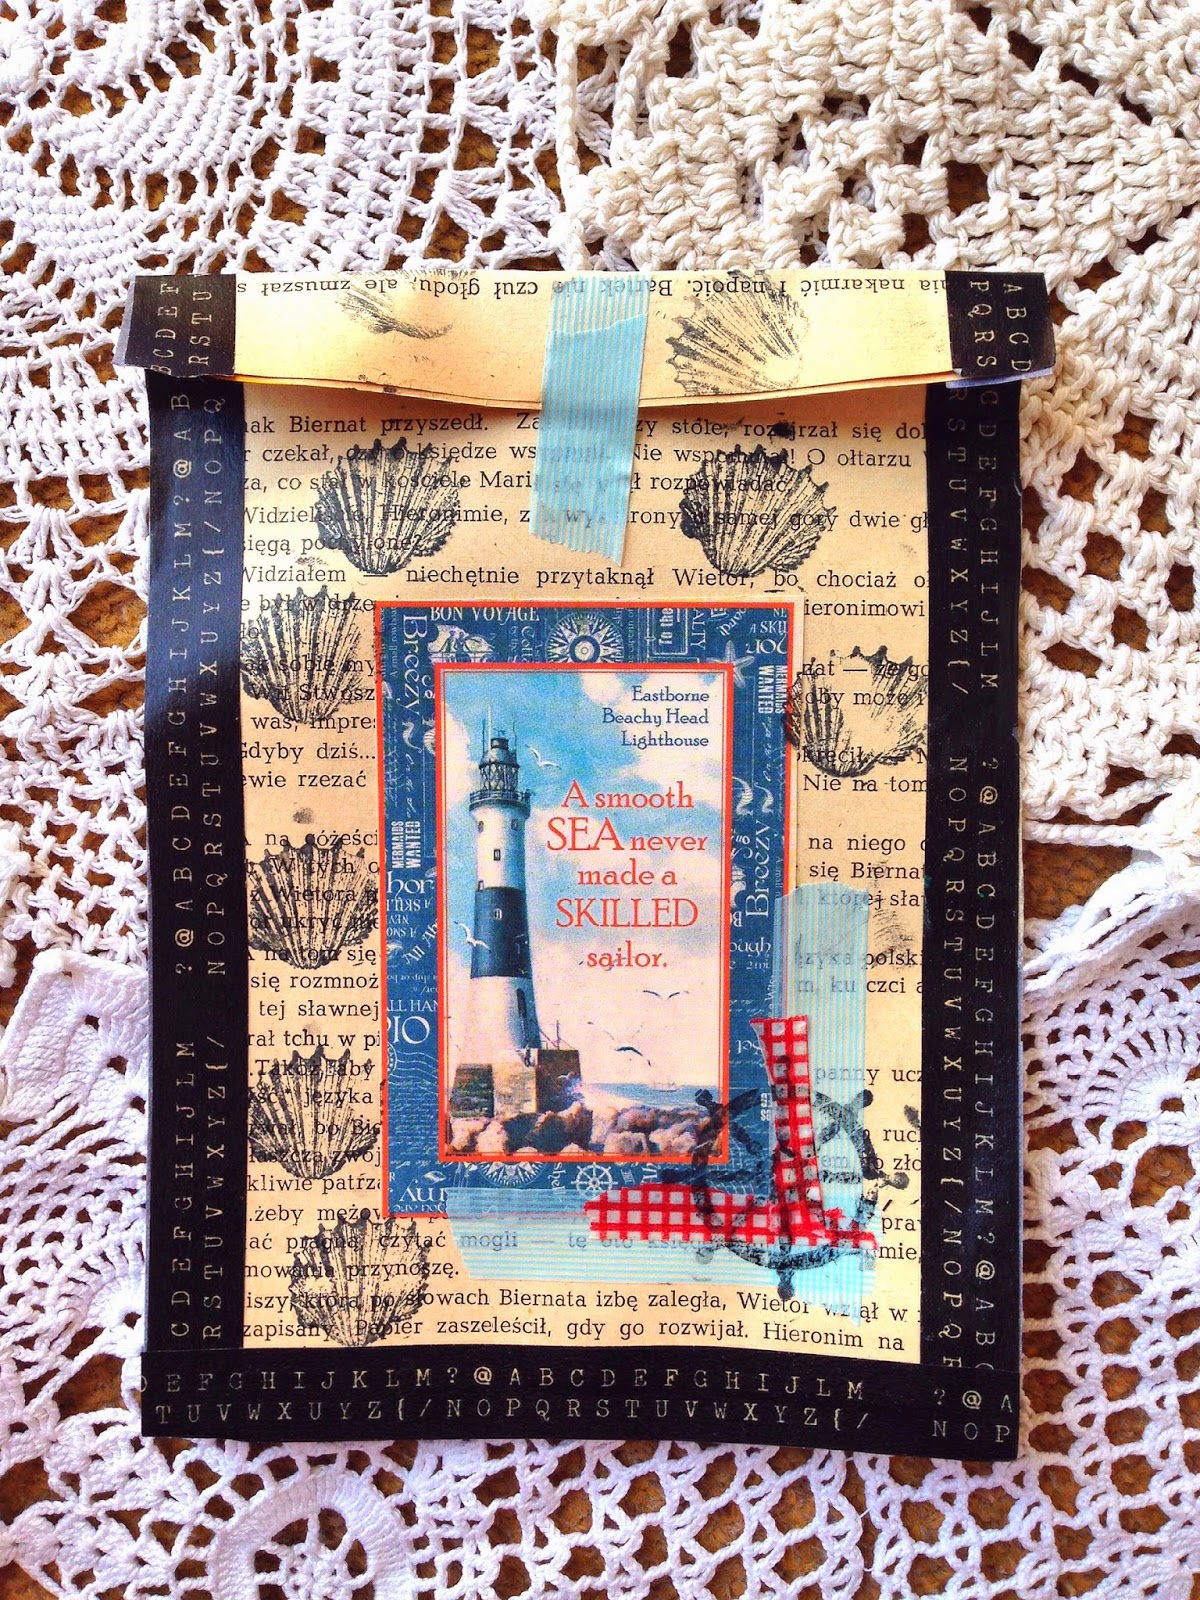
I decided to alter some paper bags and add personal touch to the gifts:) Tutorial here


xx

Sylwia

Tuesday, 18 February 2014

In everything, love

I have some unfinished canvas hiding somewhere in my studio. Sometimes I got stuck while working on the art piece,  than the best solution is just to leave it for a while. Inspiration will come back and we will look at the (annoying) unfinished piece from different perspective and maybe with new inspiration. That happens often and we need to accept it and let it go... This canvas piece is an example if this experience...    

I tried and tried to finish this piece but it didn't speak to me at all...


And than I decided to go through my stash of papers. I have lots of scrapbooking papers and also painted pages which I made myself (usually I just clean brush over piece of paper and I use it for a collage).

Saturday, 4 January 2014

Patchwork Fairy

I wanted to show you my first painting of 2014:) I actually have started working on it on 31st of Dec but I finished her on 1st Jan 2014:). I used the patchwork method (which I named myself), it means that I created paper patchwork background, which was my starting point for the painting.      
   
  1. Tear pieces of interesting pattern paper and glue it to the canvas.          


2. Add white paint or gesso around each paper square to soften its edges. If you applied to much paint, wipe it off with baby wipes.


3. Outline some interesting shapes to create flowers, hearts or other additional objects surrounding the girl, than you are ready to outline our fairy. I used the watercolour crayon in a Bark color (dark brown)  


4. I also added some paint around the girl. If you are going for a vintage design, mint colour looks great!!!


5. I painted face and went for turquoise eyes:) I also added butterfly wings, printed from internet. I also added some brown ink to the edges to add more vintage feel to whole piece. And my fairy is ready!!!! I love her!!!! I hope that I encourage you to create your own. I will be teaching how to create this art piece in my upcoming workshop in Galway, Ireland.


ART PRINTS AVAILABLE IN MY ETSY SHOP

Tuesday, 30 April 2013

Playing with texture

I decided to show you how to use different materials to create colorful backgrounds and how to add dimension to you paintings. This piece was created on 8x8  deep edge canvas.


1. I used different painted papers and gelli prints. You can make the painted papers  yourself by just playing with paints and crayons on different papers such as book pages, paper bags and junk mail. Than you tear them in to pieces and glue them to your canvas.


2. As and adhesive, I use mainly Mod Podge but PVA works well too. Arrange your papers on the white canvas to create interesting collage. Mix colours!!!


3. I painted edges and around paper pieces in one colour, which matches with colour scheme of the papers.


4. You can still see pattern from the papers. 


5. Than I used a brayer (roller), which gives this cool grungy look:) I like using contrasting colour.


6. And of course bubble wrap is a great texture tool. Just cover wrap in paint and press gently against surface.


7. Spray paint over stencil.


9. And some stencils. Remember my rule no 1: imperfectly perfect!!!!!:) 


10. Background ready!!!!


11. I had a heart sticker which I glued to two other pieces in a heart shape (it adds more dimension)


12. Than I created wing using modelling paste. I applied the paste using pallet knife. Than left it overnight to dry.


13. As the paste was a little bit transparent, I painted wings white and added some shading to them and the heart .


Wednesday, 6 March 2013

Celebrating anniversary :)


To celebrate our anniversary, myself and my beautiful other half decided to do some art (hmmm i wander whose idea was it :))))) We decided to get messy and try a new technique of mixed media by using a plaster. First we dipped the pieces of plaster in the water and than applied them to the canvas. There is no need to use glue as the plaster will stick to canvas while drying. We also built different shapes with it. We left it to dry overnight. Than we painted with acrylics, inks and stamps. My boyfriend was really proud of himself. He thought that he is not able to do any art. And that was my challenge, to prove that art is for everybody. His big smile was a great outcome from this art workshop ;)


 1. This is the plaster bandage, I have used for the project. You can buy it in any art supply shop. Just cut the small pieces and dip it in warm water. Than...


2. Apply wet pieces of plaster to the canvas


3. Leave it to dry overnight (no glue needed)


4. Paint with brush and acrylics. You can aslo use stencils, inks and stamps


4. I displayed them next to my beautiful roses which I got for the anniversary:)

If you would like to be updated with the posts and tutorials, subscribe to my blog by adding your email (on the left of the page :)